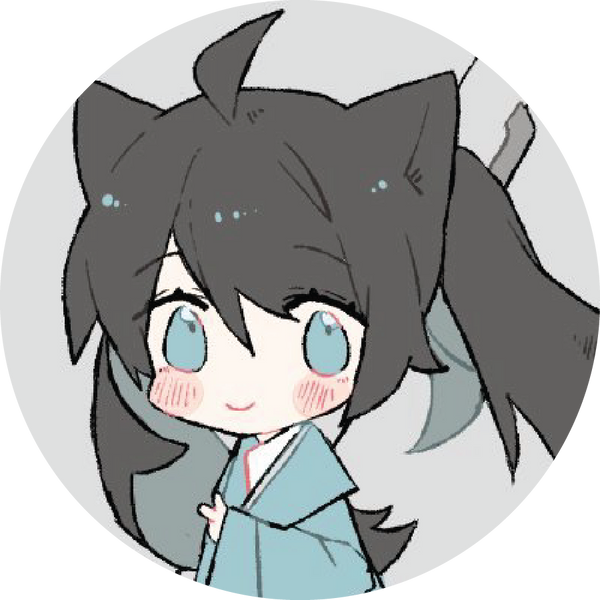
Star Rail Chibi Characters: Thoughts & Process {Process Post}
Ah yes, the Star Rail Chibi Pin kickstarter is currently underway and I wanted to share this post with my thoughts on how to approach this project!
Ever since Star Rail was released, people have asked me if I ever will do gacha pins similar to the Genshin style ones and my reply was, if I like the game will do it, and here we are~
This was actually quite late in the process as the game has been out for a while but I did started on this around June. It just took so long to draw 40 characters. I think after I did my initial 40 Genshin characters, I forgot how long it takes to do these guys.
Even though these are simple chibi designs, they usually take me about 1-2 hours to draw each character. (Not sure how long it takes for other artists to draw chibi pins but thats about how long it takes for me). Let's talk about the process a bit!
Let's use Yanqing as an example because this lil guy took me SO long, one of the longest times I spent on a character.
1. I always start with a base for chibi pins because I need the eye placement, face shape and size to be similar. My template also has a vague hairline to make sure that I don't go over too much, otherwise, the pin will look too big.  2. Then I look at the front and backs of each character. Luckily I have my own Yanqing (not C6 though) so I can see his details better. When I don't have the character, I will have to make do with Mr. Google. For character character, I will consider that character's important points and just narrow it down to a few. In this case, its Yanqings exposed slanted collar, his lil hair that sticks out, high ponytail and fluffy hair. On his C6, he carries his sword so I just felt it must be very important to his character and want to include that.
3. Then, I will use my pen tool on Sai and rough out what I imagine the pin will be like. I like to add colors soon to my drawings so I can see how the finish piece will look. It's not very efficient but it gives me satisfaction. After drawing Yanqing V1, I take look back and also will share it with my peers to ask for feedback. Overall, they think they bottom area is too busy and also to not make Yanqing look so angry.
As a mini pin, you are limited to colors and also size. All you need from far away is to understand the core of the character. Sometimes, too much detail will detract rather than add to the design. So I have to finesse him. To fellow artists, I wonder if you understand the feeling of having to delete what you have already drawn, but it is a necessity part of the process. T_T
I didn't take too many screenshots of my process here but I actually went through two MORE Yanqings before settling on final Yanqing. The part I was MOST stubborn on was keeping his sword. In the end, I thought, is he really Yanqing without his sword and I think, yes, yes he is and let go. Without his sword, his super cute outfit will be exposed and not covered!
4. And basically repeat this step 30+ more times. Draw character, and double check and fix character. There are always things I miss since Star Rail characters are so rich in details and I really want to get it right if possible. For example, I forgot Arlan's scar and Danheng only has one eye with eyeliner but his second eye doesn't!
But also sometimes, I have to lose detail for the sake of being printable. I struggled with simplifying Hook's accessory but basically to print it requires so much detail and extra color. I decided to remove it in the end. It's not possible to print it well. :(
This kind of balancing is done throughout until all the designs are done! 
And here are all the characters you can get in my Star Rail Kickstarter. I tried to do all the designs I like and know! I am not 100% sure if will do a second part for Star Rail as I am currently working on Sumeru for Genshin and maybe parts of Fontaine as well! I hope to get that going next year!
For now, I wish you all a good weekend and also happy gaming if you like Star Rail! ^u^ /